
Sprinkler Zone Design Layout 2026 (Complete Planning Guide)
Getting your sprinkler zone design layout right is the difference between a lush, healthy lawn and a patchy mess with brown spots and puddles. At Waterworks Sprinklers in Crosby, we have seen it all. Poor zoning wastes water, stresses your plants, and drives up your bills. A smart layout does the opposite. It delivers the RIGHT amount of water to the right spot at the right time.
This complete planning guide walks you through everything for 2026. We will cover what zones are, how many you need, how to lay them out step by step, and the mistakes that trip up most homeowners. Let us dig in.
What Is a Sprinkler Zone and Why Zoning Matters
A sprinkler zone is a group of sprinkler heads controlled by a single valve. When that valve opens, every head in the zone runs at the same time. Your controller cycles through zones one at a time because no single water supply can push enough pressure and flow to run your entire yard at once.
Zoning matters because different parts of your landscape have different needs. A sunny front lawn dries out fast. A shady flower bed holds moisture. Grouping them into separate zones lets you water each area exactly how it needs to be watered. Here is why proper zoning pays off:
- Water efficiency. You avoid overwatering shady spots and underwatering sunny ones.
- Healthier plants. Each zone gets a runtime matched to its plant type and soil.
- Better pressure. Splitting heads across zones keeps water pressure strong at every nozzle.
- Lower bills. Targeted watering means less waste and smaller water bills.
- Fewer dry and soggy spots. Even coverage keeps your yard uniform.
- Easier repairs. When a problem pops up, you can isolate it to one zone.
How to Calculate the Number of Sprinkler Zones You Need
The number of zones comes down to a simple truth. Your water supply can only deliver so much flow, measured in gallons per minute (GPM). Every sprinkler head uses a chunk of that flow. When you add up the heads and exceed your available GPM, you need another zone. If your system already struggles, our guide on fixing a sprinkler system with low pressure can help you spot the cause before you design.
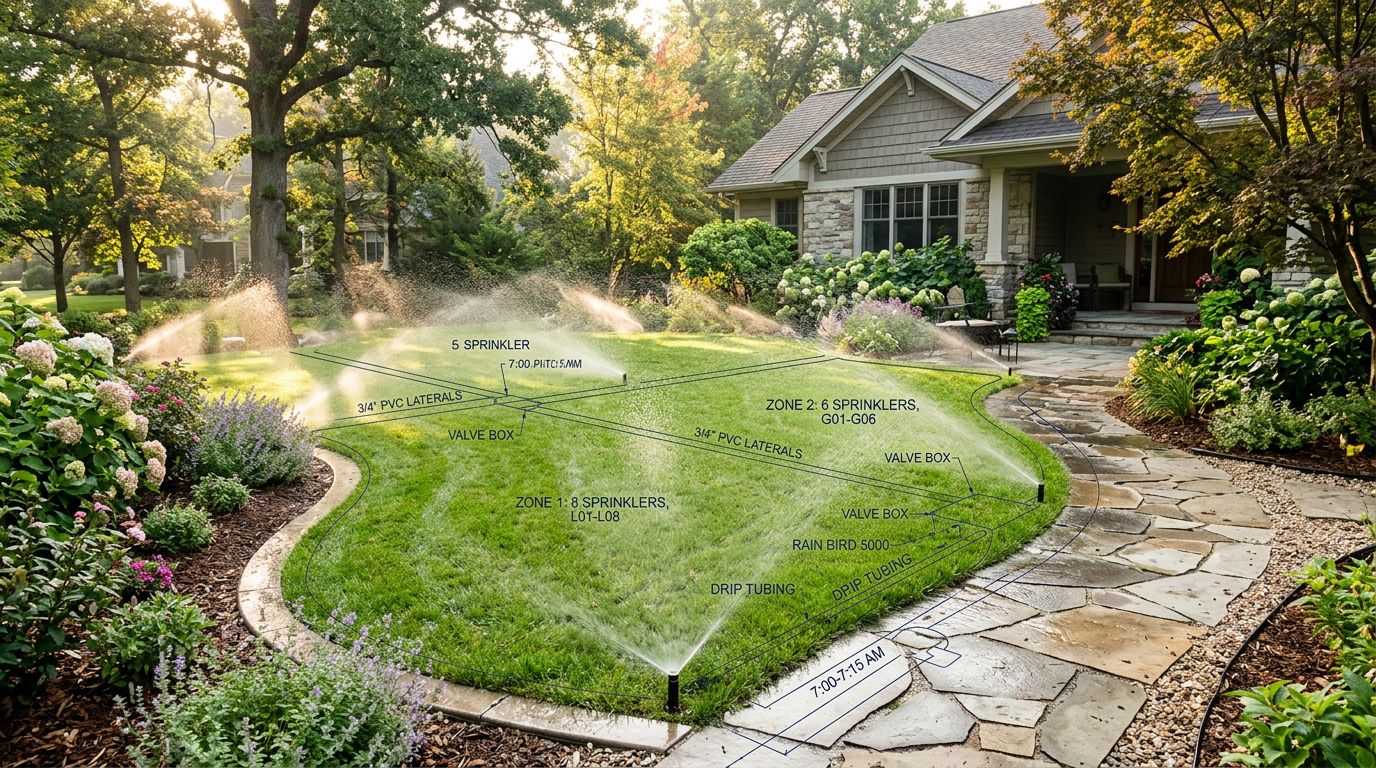
Follow these steps to figure out your zone count:
- Measure your available water flow. Time how long it takes to fill a 5-gallon bucket from an outside spigot. Divide 5 by the seconds, then multiply by 60 to get GPM.
- Check your static water pressure. Use a pressure gauge on a hose bib. Most homes read between 40 and 80 PSI.
- Map your landscape areas. Break your yard into sections by sun, shade, grass, and beds.
- List the flow of each head type. Rotors, spray heads, and drip lines each use different GPM.
- Add up heads until you hit your flow limit. Keep total head GPM below about 75 percent of your available GPM for a safety margin.
- Start a new zone. When the next head would push you over, begin a fresh zone.
- Count your zones. The total tells you how many valves and how much controller capacity you need.
Most residential yards in the Crosby and Houston area land somewhere between 4 and 10 zones. Bigger properties with mixed landscaping need more.
How to Design a Sprinkler Zone Layout Step by Step
Once you know your numbers, it is time to draw the plan. A good layout is worth the effort. It saves you money and headaches for years.
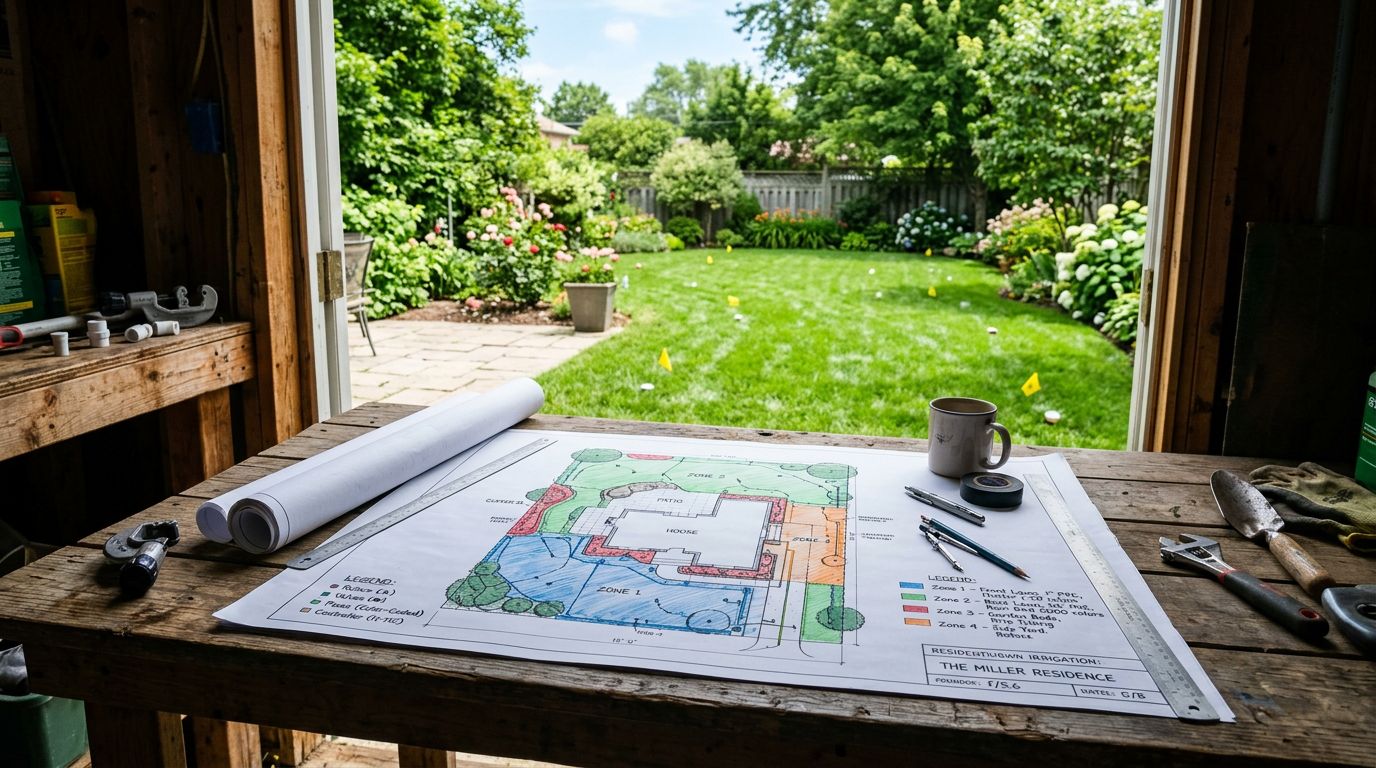
Step 1: Sketch Your Property
Grab graph paper or a design app. Draw your home, driveway, walkways, fences, and every planting area to scale. Mark your water source and controller location. Accuracy here matters more than anything.
Step 2: Identify Watering Areas
Outline every distinct area. Front lawn, back lawn, side yards, flower beds, shrub rows, and vegetable gardens all get their own outline. Note which ones sit in full sun and which stay shady.
Step 3: Place Your Sprinkler Heads
Position heads so their spray patterns overlap. This is called head-to-head coverage. Each head should reach the next one. Skipping this creates dry gaps between heads. Use rotors for large open turf and spray heads for tight corners.
Step 4: Group Heads Into Zones
Now assign heads to zones based on your GPM limit and the areas they cover. Keep matching head types together. Never mix rotors and spray heads in the same zone since they apply water at different rates.
Step 5: Route Your Pipes and Valves
Draw the main line from your water source, then branch off to each valve. Plan the shortest, most logical pipe runs. Group valves in a manifold when you can. It makes future service easier.
Step 6: Plan Your Controller Schedule
Assign each zone to a controller station. Think about total runtime. If all your zones run in the early morning, make sure they finish before peak use hours. If you want to understand what a full setup costs, review the average cost of sprinkler installation in Texas so your budget matches your plan.
How to Group Sprinkler Heads by Water Pressure and Flow Rate
This is where most designs succeed or fail. Every sprinkler head has a required operating pressure and a flow rate. If you mix heads with mismatched needs, some spray too far and others barely trickle. The goal is UNIFORMITY within each zone.
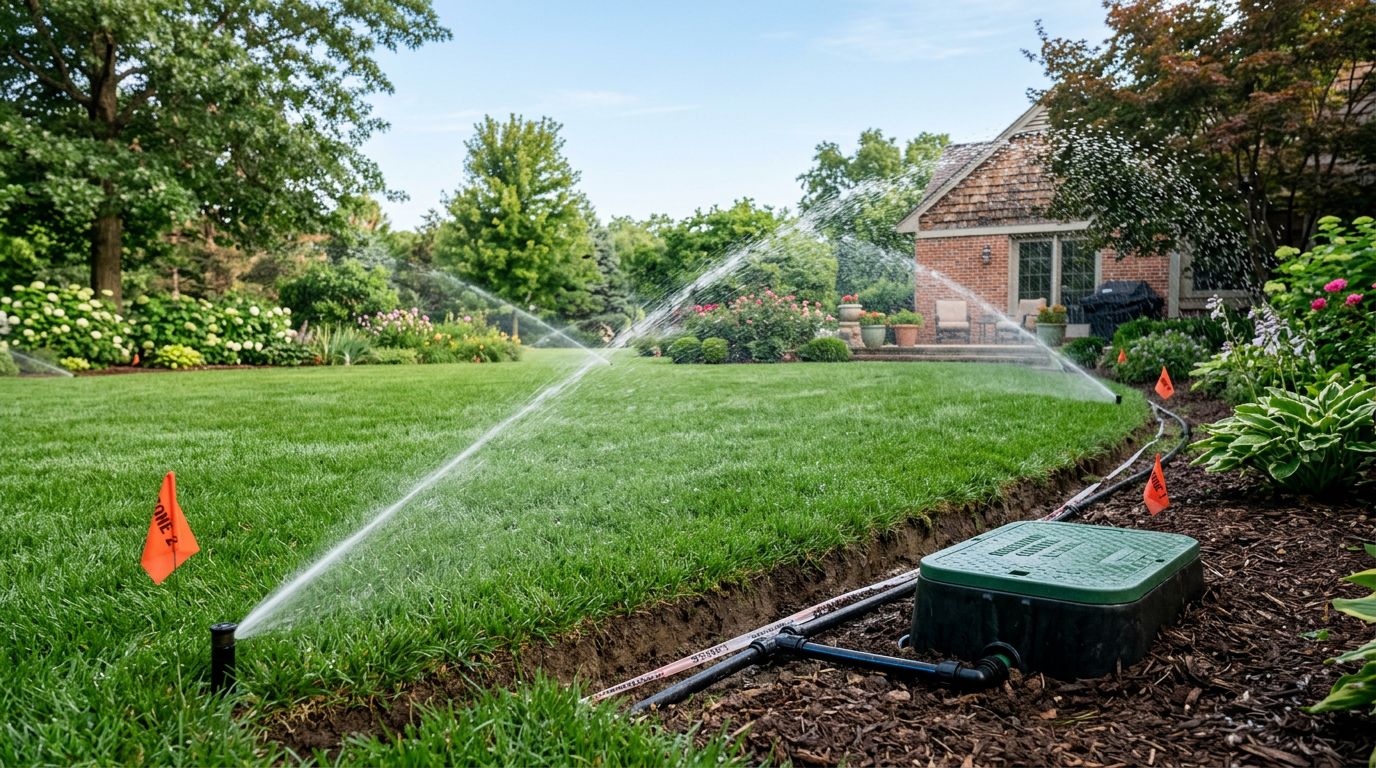
Grouping heads correctly keeps water landing evenly across the whole zone. Here is how we approach it:
- Match head types. Keep spray heads with spray heads and rotors with rotors. Never combine them in one zone.
- Match precipitation rates. Heads that apply water at the same inches-per-hour rate belong together.
- Respect the flow ceiling. Add up the GPM of all heads in a zone and stay under your available supply.
- Keep pressure consistent. Heads far from the valve lose pressure. Balance pipe sizes to reduce that drop.
- Separate drip from spray. Drip irrigation runs at low pressure and long durations. It always gets its own zone.
- Account for elevation. Heads uphill lose pressure. Group by elevation when your yard has slopes.
When these factors line up, every head in a zone starts and stops watering at the same effective rate. That is the secret to a healthy, even landscape.
Best Practices for Zoning by Plant Type and Sun Exposure
Water needs are not the same everywhere. Grass, shrubs, and flowers all drink differently. Sun and shade change the equation even more. Smart zoning respects these differences.
Separate Turf From Beds
Lawns need frequent shallow watering. Shrubs and trees need deep, less frequent soaks. Never put them on the same zone. Split them so each gets a schedule that fits.
Zone by Sun Exposure
Full-sun areas dry out fast and need more water. Shaded spots stay damp and need less. Put your sunny front lawn on a different zone than your shady side yard. This one change prevents both brown spots and root rot.
Consider Slope and Runoff
Sloped areas shed water before it soaks in. Give them shorter, more frequent cycles so water absorbs instead of running off. Flat areas can handle longer single runs.
Match Drip to Gardens and Shrubs
Vegetable gardens, flower beds, and shrub rows do best with drip irrigation. It delivers water right to the roots with minimal waste. Keep these on dedicated low-flow zones. If you like automation, the latest sprinkler system technology trends and innovations include smart controllers that adjust each zone based on real weather data.
Account for Wind and Reflection
South and west-facing walls reflect heat and dry soil faster. Areas near driveways and patios also heat up. Zone these hot spots separately so you can boost their runtime without overwatering the rest.
Common Sprinkler Zone Design Mistakes to Avoid
We repair a lot of systems that were designed poorly the first time. The same errors show up again and again. Knowing them ahead of time saves you money and frustration. Here are the biggest mistakes we see:
- Overloading a zone. Too many heads on one valve drops pressure and leaves dry patches. Respect your GPM limit.
- Mixing head types. Rotors and sprays on the same zone always cause uneven watering.
- Skipping head-to-head coverage. Gaps between spray patterns create stubborn brown spots.
- Ignoring sun and shade. One schedule for the whole yard means something is always over or underwatered.
- Forgetting slopes. Sloped zones without adjusted timing waste water to runoff.
- Undersizing pipes. Small pipes choke flow and starve distant heads of pressure.
- Placing heads too close to hardscape. Watering the driveway helps nobody.
- No room to grow. Plan a spare zone or two if you might expand the landscape later.
- Skipping the backflow preventer. This protects your drinking water and is required in most areas.
Avoiding these keeps your system efficient and your yard looking sharp. If you run into pressure or valve issues later, our repair team can diagnose and fix them fast.
Conclusion
A well-planned sprinkler zone design layout is the foundation of a beautiful, water-wise landscape. Start by measuring your water flow and pressure. Map your yard, group heads by type and flow, and zone by plant needs and sun exposure. Steer clear of the common mistakes and your system will run efficiently for years.
At Waterworks Sprinklers in Crosby, we help homeowners across Houston, Baytown, Atascocita, Humble, Channelview, and Highlands design, install, and maintain systems that work. Whether you need a fresh installation, a repair, or seasonal winterization, we are ready to help you build the right layout the first time. Reach out to Waterworks Sprinklers and let us get your yard on the path to greener days.